Plugins installation
All the plugins included in the main repo will be available once you have installed the core platform.
However, some plugins may require extra (optional) dependencies. You have several ways of installing those dependencies:
pip
You can install extra dependencies via pip extras:
pip install 'platypush[plugin1,plugin2,...]'
For example:
pip install 'platypush[light.hue,music.mpd,rss]'
Will install Platypush with the dependencies for the light.hue, music.mpd
and rss plugins.
Web interface
Plugins can be installed from the Web interface too. Navigate to the Extensions entry in the sidebar, select the extension that you want to install, select the Install tab and click Install.
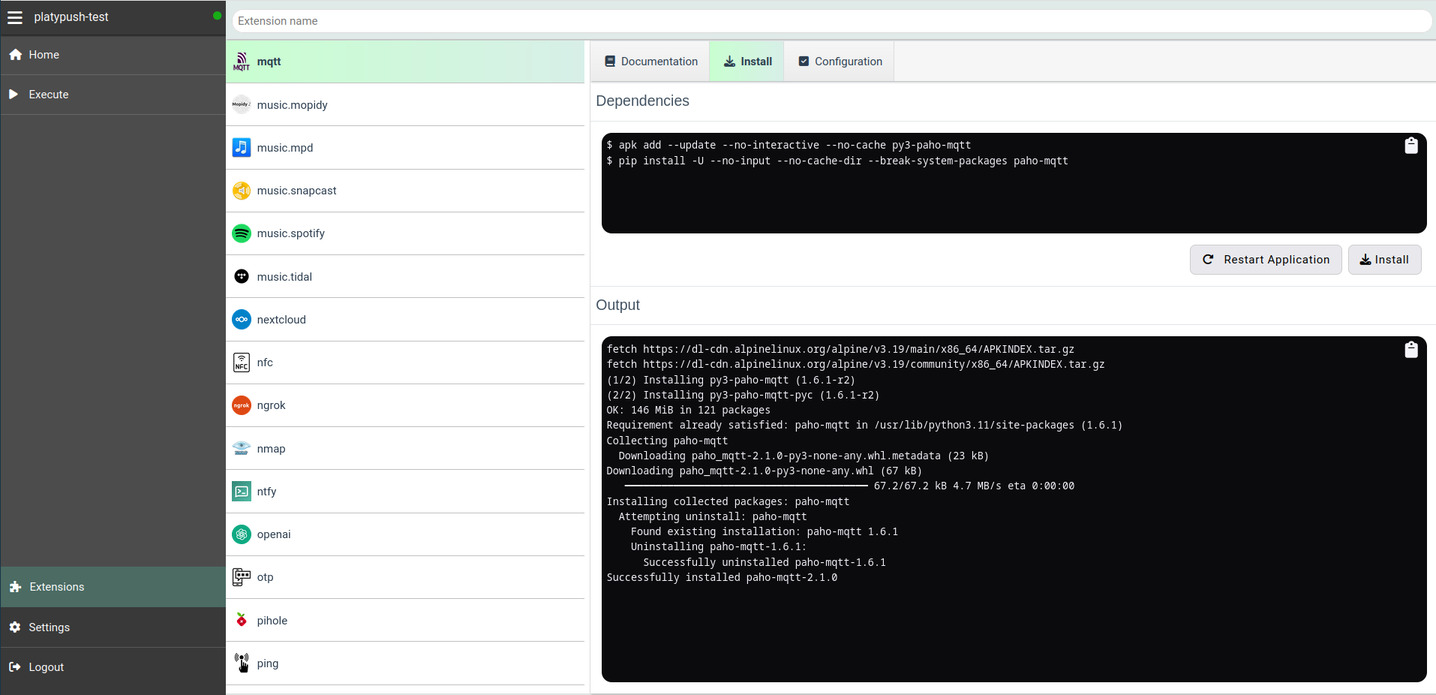
This section also includes the Configuration tab, with a ready-to-paste configuration snippet template for that plugin, as well as a documentation page that includes all the actions supported by a given plugin and the events it triggers.
Docker
If you already have the base installation of Platypush on your machine, and you
have a configuration file with a custom set of integrations, then you may opt
to generate a custom Docker image from your configuration file, with all the
extra dependencies configured, using the platydock command.
The following command:
❯ platydock -c /path/to/your/config.yaml -d platypush-test
Will create a Platypush Docker image for a device with ID platypush-test,
with all the requirements for the additional integrations listed in
config.yaml.
You can pass the --print option if you just want to print the content of the
output Dockerfile instead of generating the image.
By default the image will use Alpine Linux as a base. You can use the
-i/--image to specify another supported base image - ubuntu, debian or
fedora.
Virtual environment
If you already have the base installation of Platypush on your machine, and you
have a configuration file with a custom set of integrations, then you may opt
to generate a custom virtual environment from your configuration file, with all
the extra dependencies configured, using the platyvenv command.
The following command:
❯ platyvenv -c /path/to/your/config.yaml -o /path/to/your/venv
Will create a new virtual environment under /path/to/your/venv using the
specified config.yaml to determine which optional dependencies should be installed.
You can then run Platypush after activating your new environment:
❯ source /path/to/your/venv/bin/activate
❯ platypush -c /path/to/your/config.yaml
Manual installation
The plugin/backend documentation reports all the dependencies required by each plugin, as well as the commands to install them on multiple platforms.
If you want to customize your installation, or if you need to install dependencies for a plugin that requires some manual steps, you can check out any plugin-specific installation steps from its documentation.